Helpful & free CAD 3D print design tools

3D printing
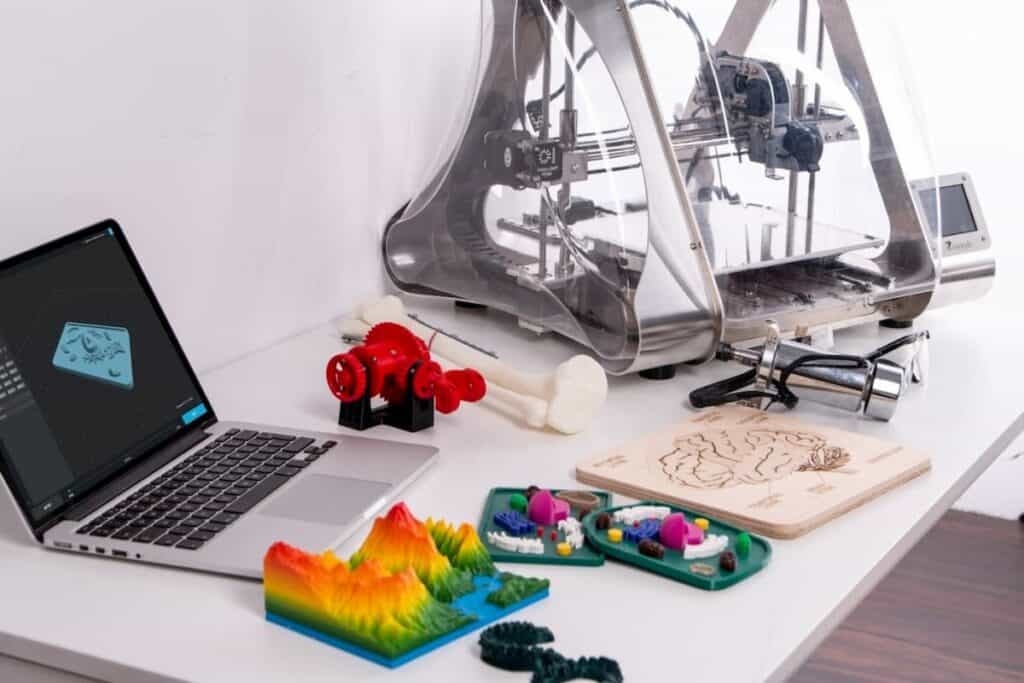
3D Printing, technically known as additive manufacturing, has been gaining the interest of many in the last decade. The multifarious uses of 3D printing have led it to be a must-have tool for every architecture and engineering firm. 3D printing enables you to create and manufacture real objects from a digital file in no time.
It is not only user-friendly but also environmentally friendly, as it requires much less material than traditional manufacturing methods. Technical advancements in 3D printing have extended its uses in various industries, such as aerospace, aviation, construction, consumer products, food, and medicine. What’s the most interesting aspect of this procedure is the flexibility it offers to its users, but what are the tools to do so? Let us answer this question for you here as we tell you about free CAD 3D print tools.
3D modeling
3D modelling can be mainly categorized into three categories, and understanding will help users select our model type and the tool that best fits it. The major classification is such that there’s “object primitive modelling”, “parametric modelling”, and “mesh modelling”. Object primitive modeling is used for creating simpler models and you start it by using pre-defined shapes, by adding and subtracting objects to and from each other you can create new objects which can then be 3D printed through 3D printers. On the other hand, in parametric modelling, you initially use a 2D object and transform that into a 3D object by extruding. If you choose this sort of modeling, you can have all the steps saved to create your object, thus it is far easier to alter a model in the parametric model than in object primitive modeling. Mesh modelling and sculpting is more of an artistic approach to 3D modelling where you can manipulate an object like clay. You can sculpt the objects to give them defined features; this makes it a great option for animation and character creation.
CAD programs
Now that you know about the categories, let’s move on to the tools that you can use for 3D printing, which are CAD programs that are free of cost!
Tinkercad
Starting with “TINKERCAD”, is the most popular software among beginners, and it provides one with immaculate opportunities to create 3D objects using primitive object modelling. This software is free, cloud-based and easy to use. It has drag-and-drop features, which make it easy to select various objects to create one. Other tools allow you to subtract one shape from the other to create holes. You can then resize and re-centre the object; however, it is difficult to make major modifications in TinkerCADas it works on the building block method. It also provides you with basic mesh editing options, but it does not support image manipulation, such as taking a JPEG format picture as an example. You can import the STL file and use it to manipulate it to create your object. The downside of TinkerCAD is that you need to have a strong internet connection; otherwise, working on it and saving the details becomes an irritating process. TinkerCAD also has a number of educational resources and tutorials that you can use to learn the tools. It can be connected directly to the 3D printer to print your choice of models.
Mattercontrol
“MATTERCONTROL“ is one of its kinds of software. This highly intuitive and advanced tool helps you bring your imagination to life. It can easily compete with other paid software based on its functionality, but we would say it is even better because it is free! In addition to that, it is open-source. You can design, create, analyse and print your models using this parametric software that works on hybrid modelling principles. You start with a pseudo-parametric design and work it up to a 3D model. This software has the capability to import JPEG format files and turn them directly into a 3D object, which distinguishes it. It is swift, easy and magical!MatterControl has amazing support for its users in terms of the tutorials that are present for its tool usage according to the level of the user’s expertise. You can download it without paying a single penny on your Mac, Windows and Linux!
Freecad
The list of free CAD 3D print tools also includes “FREECAD,” which, as the name suggests, is free. It is highly flexible, open-source, and parametric software that supports meshes and a right-hand coordinate system. To design a 3D model on FreeCAD, you start by drawing a two-dimensional sketch. Then, you pad and extrude the sketch to transform it into a 3D object. You can combine it with other objects and sketches to create new ones on FreeCAD.
Meshmixer
“MESHMIXER“ is an artistic tool for 3D printing and designing. It is used widely in the health industry, as well as for product design and engineering devices. Meshmixer offers a great variety of tools, such as drag-and-drop mesh mixing, 3D sculpting and surface stamping, re-meshing and mesh simplification, and other printing tools like automatic print bed orientation optimisation, layout, and packing. This software is free for Mac and Windows users, and it has a lot to offer.
Blender
Moreover, “Blender 2.8“ is also the software that has won the hearts of many animators and designers. It is free, intuitive, and open source. Using this software, you can make animated movies as it enables you to do rigging, texturing, rendering, and video editing. It covers your entire work-flow from the concept to the final output, thus it is easier to track your progress on Blender. Fortunately, it also comes with a built-in game engine, which has given it much popularity among the game developers’ community. It is kept up to date and is a highly efficient software.
Free CAD 3D Print Design Tools
Other software you might consider includes Fusion360, Leopoly, Vectary, CATIA, AUTOCAD, OnShape, Sketchup, OpenSCAD, and Sculptris. Our other articles provide details on these tools, so don’t forget to check them out, too!
Keep designing and keep printing to bring your projects to life!
Draftings Australia provides excellent 3d printing, 3d modelling services at an affordable rate. Call Us now!
What software is used to design for 3D printing?
Several software options are commonly used for designing models intended for 3D printing. Some of the popular ones include:
Tinkercad: Tinkercad is a beginner-friendly, web-based 3D modeling tool that’s widely used for designing models for 3D printing. It offers a simple drag-and-drop interface and basic modeling tools, making it easy to create 3D printable designs without prior experience.
Fusion 360: Fusion 360, developed by Autodesk, is a powerful CAD/CAM/CAE software that’s commonly used for 3D printing. It offers advanced modeling tools, parametric design capabilities, and integrated CAM functionality for generating toolpaths directly from your 3D models.
SketchUp: SketchUp is known for its simplicity and ease of use, making it popular among beginners and hobbyists. While it’s not specifically designed for 3D printing, SketchUp can be used to create models for 3D printing with the help of plugins or extensions that provide export options compatible with 3D printing software.
Blender: Blender is a free and open-source 3D creation suite that offers extensive modeling, sculpting, and rendering tools. While it may have a steeper learning curve compared to other options, Blender is highly versatile and suitable for creating complex models for 3D printing.
Simplify3D: Simplify3D is not a modeling software per se, but rather a slicing software used to prepare 3D models for printing. It offers advanced features for optimizing print settings, generating support structures, and previewing the print process. Simplify3D supports a wide range of 3D printers and file formats.
How can I design a 3D print?
Designing a 3D print involves several steps, from conceptualizing your idea to preparing the model for printing. Here’s a general guide to help you get started:
Conceptualization: Begin by visualizing what you want to create. Consider the purpose of your design, its size, shape, and any specific features you want to include. Sketching your ideas on paper or using digital sketching software can help you refine your concept.
Choose 3D Modeling Software: Select a 3D modeling software that suits your skill level and project requirements. Popular options include Tinkercad, Fusion 360, SketchUp, and Blender. If you’re new to 3D modeling, consider starting with a beginner-friendly tool like Tinkercad.
Create the Model: Use the 3D modeling software to create your design. Start by building basic shapes and then refine them to create your desired form. Depending on your design, you may use tools such as extrusion, lofting, sweeping, and boolean operations to shape your model.
Add Details: Once you have the basic shape of your model, add details and features as needed. This could include textures, patterns, holes, or any other elements that enhance the functionality or aesthetics of your design.
Check for Printability: Before proceeding, ensure that your model is printable. Check for any features that may cause printing issues, such as overhangs, thin walls, or unsupported areas. Most 3D modeling software includes tools to analyse and fix potential printability issues.
Export the Model: Once your design is complete, export it in a file format compatible with your 3D printer. Common file formats for 3D printing include .STL, .OBJ, and .3MF.
Prepare for Printing: Import the exported file into slicing software, such as Ultimaker Cura, PrusaSlicer, or Simplify3D. In the slicing software, you’ll configure print settings such as layer height, infill density, and print speed. You’ll also generate support structures if needed.
Preview and Slice: Preview the sliced model to ensure that it looks as expected and that there are no issues with the slicing process. Once you’re satisfied, slice the model to generate the G-code instructions that will guide the 3D printer during the printing process.
Print: Transfer the sliced G-code file to your 3D printer and start the printing process. Monitor the print job to ensure that it progresses smoothly, and make any adjustments as needed.
Post-Processing: After printing is complete, remove the printed object from the build plate and perform any necessary post-processing steps, such as removing support structures, sanding, or painting.

